For the creation of the trailer there were elements that we had to aim our main focus on. Those were: Lighting, music and continuity. In this post I will be illustrating the steps we have taken as a group to merge these elements to finalise our trailer. I will also be including drafts of the trailer.
Filming
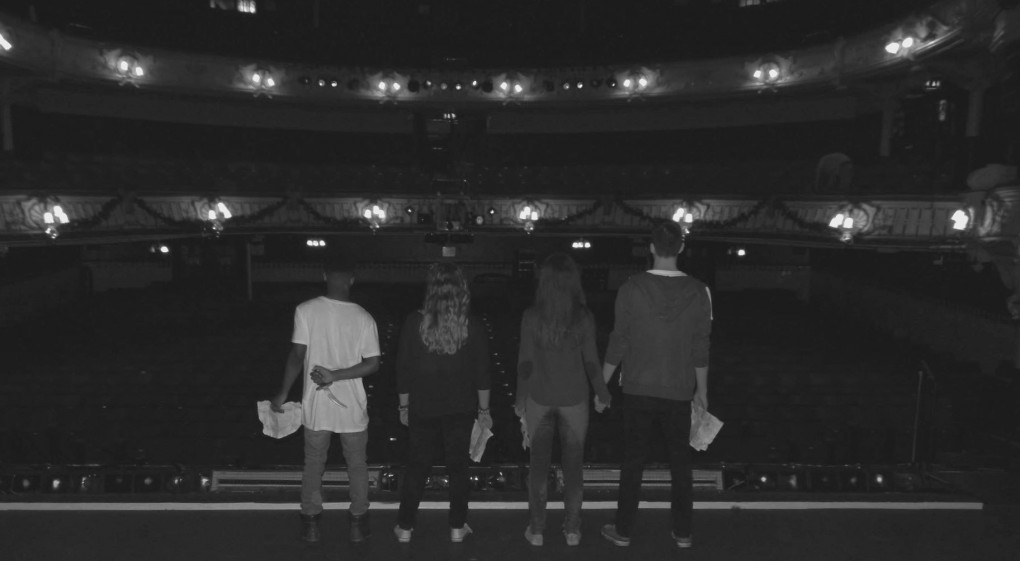
Filming days were very short; starting at 9am and finishing at 1pm. The reason for this was the environment was very busy. They had to accommodate us and still run their business, the theatre had a show not long after us so they needed time to set up and rehears. However this short time didn’t affect us, we just had to work efficiently as possible, making sure we had got enough footage. The consensus on the filming days was positive for all participants whether that be the cast and the crew.
We used both ambient and artificial lighting. To contrast effects, the ambient lighting would add to setting the scene for the genre, for example the stair well scene where the actors find the cursed object and there is a chase there is ambient lighting from the sun coming from the top, restricting the whole stair well to be lit so it contrasts well and on camera the lighting is very good. An artificial lighting example was the well scene, we had to turn the lights out so it was pitch black and as we didn’t have the finance to buy high technological movie lighting we had to use the lights on our phones so we could see Nicola Flynn (Olivia), however the low quality of our lights worked really well as it gave an unsettling psychological setting which was perfect for the type of scene we were trying to capture along side the acting.
For continuity purposes we kept the costumes, and hair and make up for the actors the same. We also kept the same props. We had to film the Well scene last so Nicola Flynn (Olivia) could have a clean costume thought the day and again for continuity purposes.
The dialogue for our trailer was kept at a minimum as we didn’t want to reveal too much of the movie. We wanted to keep the audience on their toes at a constant. However the dialogue that we did have was clear, if it wasn’t we redone the shot multiple times until we were confident it was clear. The music we have chosen will fit in well to the genre and theme of Shakespeare as it is from Franco Zeffirelli’s Romeo and Juliet (1968). It has a slow and sombre singing and doesn’t seem modern as it is over 45 years old.
We decided on various camera shots and angles in our pre-production and we kept well to it when filming. This included POV, close-up, handheld, high/low angle, tracking shots, establishing and a fair few others. This is so we could keep the pace to the trailer as well as show off as much of the location as possible.
Other Film Days
On these other films we went around the theatre to get more footage of the theatre itself to get establishing shots of the venue. These shots were jump shots and shots the better fitted our chosen genre as we didn’t have many from our first filming day. We chose doors, seats, bars, backstage, under the stage etc.
Evidence pictures – Why we were in these locations
Crew
Consisted of: Rachael Selwood, George Currie, Jemma Green and Eleanor Wemyss
Cast
Consisted of: Sebastian Scorrer, Amos Mukombero, Pat Saunders, Hayley Newell Nicola Flynn
Editing – including music
Music in a trailer is very important as it adds to atmosphere and makes the audience endure the physical setting of the trailer. It gives more of an impact to what is happening in the trailer, this could be a fast cut with slow, eerie jerky music.
For our trailer we used the programme audacity Eleanor could best use this programme to mix the soundtrack. However we did help her research techniques that can be used to make an effective horror soundtracks on the internet. These are the steps Eleanor took in order to complete the mix.
Below is the final mix finished.
https://www.youtube.com/watch?v=33XUlwRqCpA
The music that we chose to use all are lyrical snippets from other Shakespeare plays such as ‘Twelfth Night’ and ‘The Merchant of Venice’ which linked well to the varied characters we had borrowed from the bards plays. This was a reference from “The Cambridge Companion to Shakespeare and Popular Culture” (Cambridge University Press. 2007. pp. 156–157). An arrangement called “A time for us” would have been a good second choice to What Is A Youth though it is much more sorrowful and eerier which suits our genre but would’ve been too deafening as it is rather high pitch and is more full of love. We changed the tempo and pitch of the piece to create a more eerie and secluded sound to fit with our genre and pace of the trailer, as the editing and shots would have to fit the tempo and lyrics.
Green screen into
This element is important to keep the trailer looking as professional as possible the purpose to show rating for the trailer/movie for the audience. Warning the audience what the movie/trailer may contain.
We acquired the layout font’s and contents on-line and we created our own green screen intro using Adobe Photoshop. It ended up looking like this:
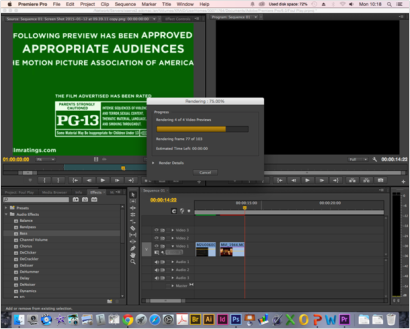
Rendering the image with the film clips
 Changing the clip speed: This made the music fit better as it went with the speed and made a more jumpy cut and gave a darker appeal to the frame
Changing the clip speed: This made the music fit better as it went with the speed and made a more jumpy cut and gave a darker appeal to the frame
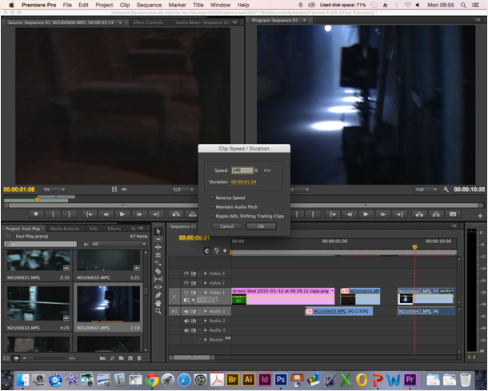
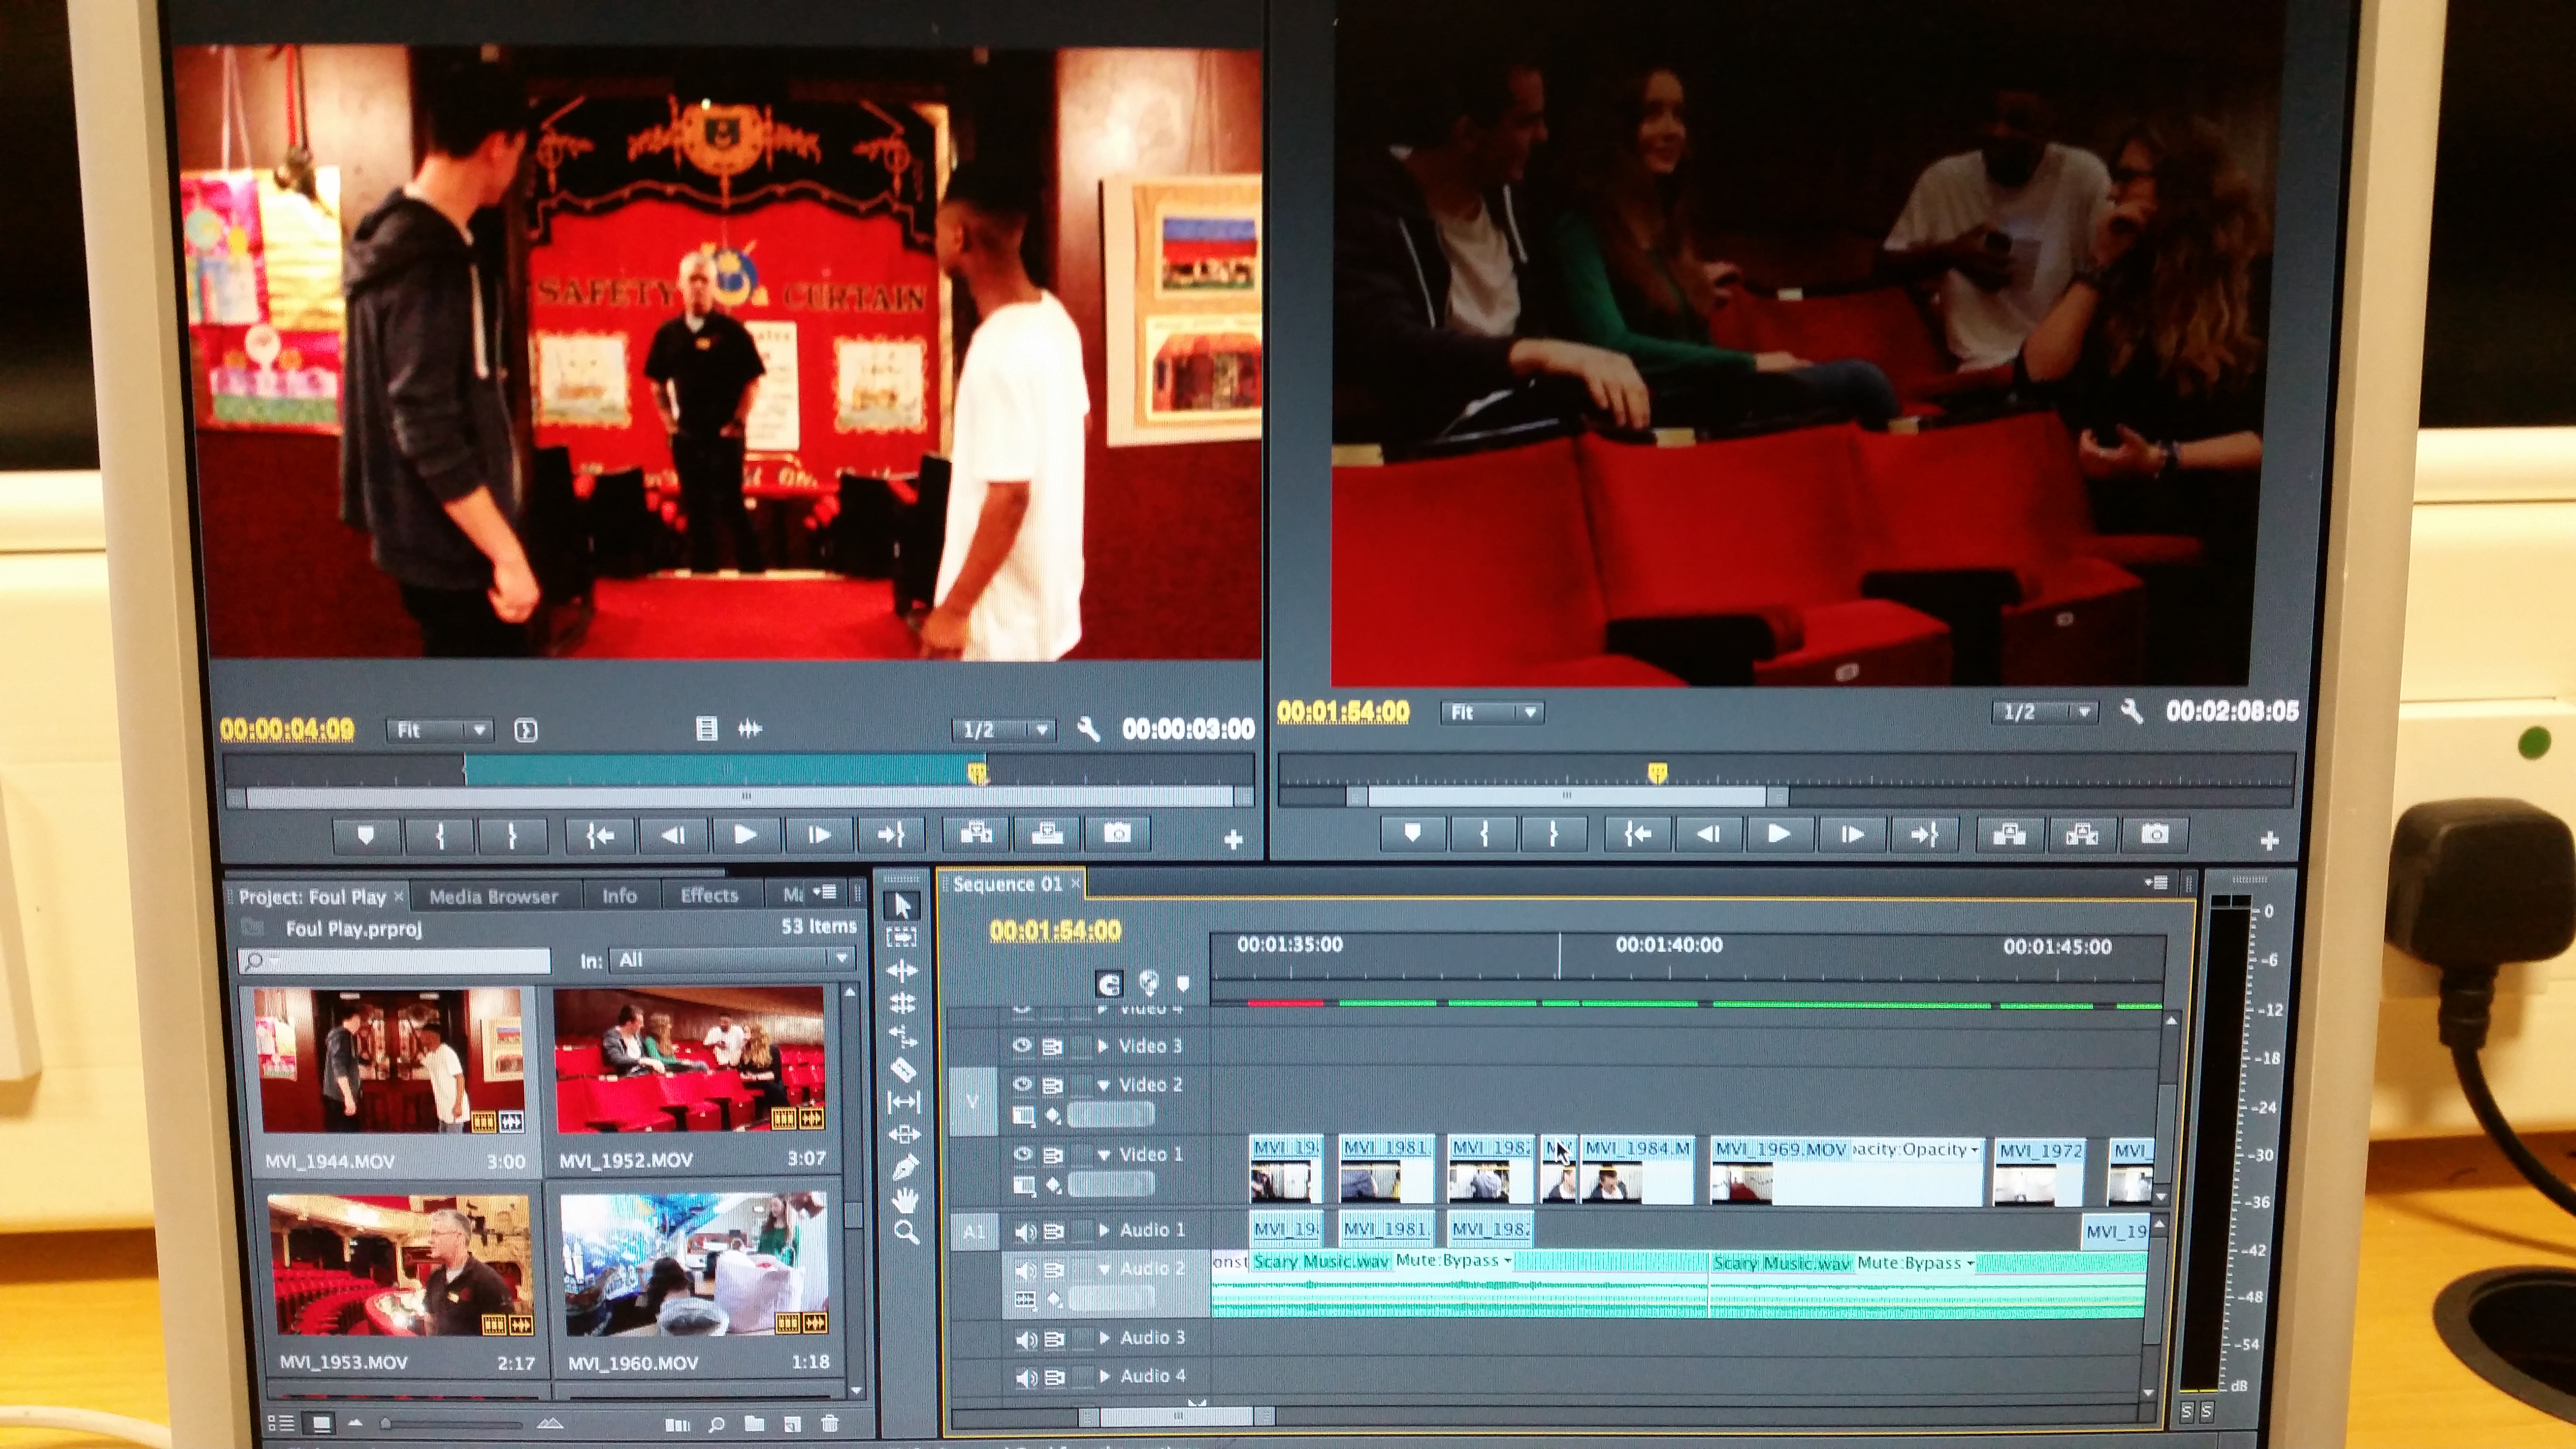
As the editing was taking so long to do as a group we decided to each do a bit then the principle editor would do the majority based on the input of other members and the storyboard. Therefore I began the main editing.
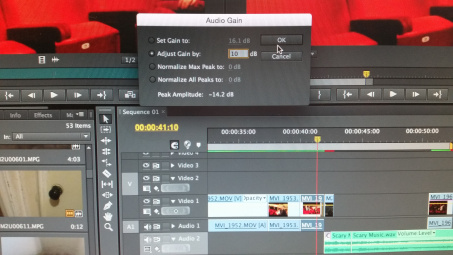
I again adjusted the audio gain by +10 db (decibels) to make the clip louder as it had the main dialogue within it that sets the scene of the trailer. This shot was particularly needed as it showed the characters as friends and opened the way to the narrative and the reason they were at the theatre.
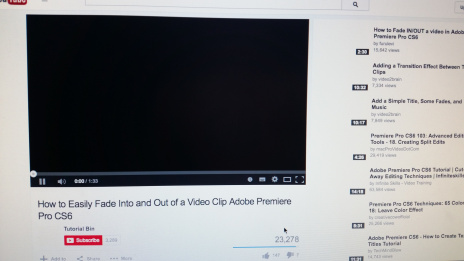
As I did not know how to fade in/out on a clip I looked it up on YouTube as it has tons of useful tutorials for things. This is how I learnt to use Premier Pro’s additional effects
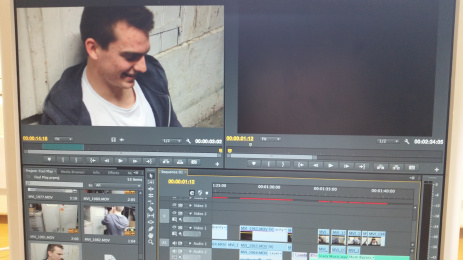
This is how I cut the clip to the exact short moment I wanted as it creates more of the suspense.
meaning is apparent to the viewer and making selective and appropriate use of shot transitions, captions and other effects
Flashcard
Minor trailer elements that we needed for our trailer were flash cards. We used Adobe Photoshop to create these flash cards. The process in making them was setting the document to be 56 height to 72 wide. We would then use the shape tool of a rectangle and put it over the background, We decided to make this rectangle black. The next step was using the text tool (as horizontal text) setting the font to Baskervile at a size of 150pt. After doing this we used the lasso tool to select a jagged selection so we could break up the text to incorporate it to the genre and give it more of an effect. We decided to keep the flash cards as simple and plain as possible so the audience can read them without distractions. To export the Photoshop document you had to save is as a JPEG from its original file format of PSD. We repeated this process for all of the flash cards we made.
These are the steps I took using photoshop:
We added these flashcards as a result from our audience feedback.
Production company
Having a production company for our trailer was also important as, this would add to the professionalism of our trailer. This would be the company that would help us in production if it was a real life scenario. We needed a graphic for our trailer. So for this I done some research into production companies that are already well established to see which company would best fit our trailer.
From this we reviewed it as a group and felt that Universal Pictures would suit our trailer best. Jemma Green found a into for us to use. The link is bellow.
URL:http://www.youtube.com/watch?v=eXRsNYKc-Xk
This was the rough copy of the trailer in Adobe Premier Pro rendering
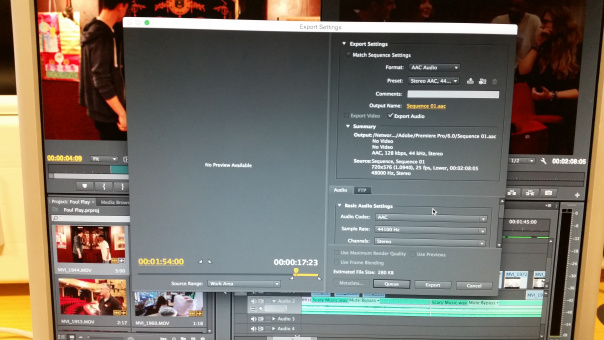
Exporting the trailer

Exporting the trailer again
Rough copy
This is the rough cut of the trailer without any changes. This is useful as I can see what problems there are and what needs to be done.
Issues: The quality has been affected and is not easy to see. This is due to the exporting which I will now try and change to make it easier to see.
We I watched a tutorial on how to properly export in Adobe Premier Pro and have created the appropriate settings for it.
Group Feedback: Trailer
As a group we decided to do a draft of our trailer and get feedback. This way we could use the feedback to reconstruct our work, feedback is important as we a creating a product for an audience and knowing what they want from a trailer means we are that step closer to getting potential customers for or product if we were to produce the full movie. Jemma Green suggested we each ask our target audience feedback in different media formats. From this Eleanor used Facebook to ask for feedback; Jemma created a paper questionnaire and I created a video.
This was Eleanor’s feedback procure and results:
From my feedback I asked five females and five males on their opinion of our first trailer draft and how we can improve. I created a group chat and found five of each at random ranging from courses they take, film preferences, media experience and different personality traits. The people I asked were between 16-20 years old. Relevant courses they take are below.
Dom Walton- Film Studies; Megan Miles-Film Studies; Peter Ketchen-Film Studies; Grace Jackson- Film Studies; Poppy Currie-Media
Nicola Faulds- Chemistry; Annie Cooper- Archaeology; Jack Whilmhurst- Music; Kieran Martin- Catering; Matt Barry-Biology

This helped me to know what areas needed to be improved and what changes would appeal better to the audience. The top 6 things that were identified by my target audience were;
- Make cuts smoother and clearer
- Sound blending between music and clips
- Dialogue clearer
- Colours need to be clearer between shots
- Title cards
- Plot establishment
So the visuals and sound need to be address such as making them clearer to hear/see. The cuts need to be clearer and need to establish the plot better as there are too many theatre shots and not enough actors. Colours change too much between the dark and light and we need title cards to fit to trailer styles. – eleanorwemyss.wordpress.com
Jemma Green’s feedback procedures and results were as follows:
I used Microsoft word to do this. I decided to include questions which would help us identify any problems with the trailer and also to tell us what we wanted to hear in terms of whether we have managed to convey plot, genre conventions and excite the audience. ~Jemma Green, greenjemma72.wordpress.com
Jemma went old fashioned and created a questionnaire. The audience would watch the trailer prior filling out the questionnaire. Jemma then collected the data and created pie charts to show the data. below is the questionnaire and her results.
Here are the results of my questionnaire, I gave it out to my friends, family and neighbours and showed them the trailer on my phone. I decided to only survey people who fitted our target audience specifications therefore I did not ask anyone over the age of 20 to fill in a questionnaire.I initially thought of scanning each completed questionnaire in however I then decided that there were too many completed sheets to scan in to present effectively. I then decided that I should present the collected data in several pie charts, as this would allow all the collected data to be viewed, stored and compared in one place. I therefore created these pie charts that can be seen below using the questionnaire data, i then disposed of the questionnaires as they were no longer needed. Here are the results below with a brief explanation of the findings. ~Jemma Green, greenjemma72.wordpress.com
Jemma used powerpoint to put her pie charts together. This was for easier viewing.
From Jemma’s research the aspects we need to change are;
1. Addition of flashcards/text
2. Change the placing of the music
My Feedback contribution:
As we are living in a tech savvy era I decided to use my iPhone I downloaded an application called ‘Splice’ from the app store. This app allowed me to shoot separate videos, and cut and edit the separate videos to make one finalised video. I was able to add a soundtrack in the background and title to enhance the video.
On the bottom left of this screen shot you can see the app ‘Splice which is what i used.

These are the separate video’s I used to comprise my final video

This was the editing process. I then had to preview, export and publish my work onto Youtube.

Below is the final video. Enjoy!
From the video we need to change these things:
1. Cuts between clips
2. Colour scheme
3. More dialogue
From my group’s audience feedback on the first part of the trailer we can see what needs to be improved.
Overall the visuals of the repeated shots, colours, quick cuts and edits between dialogue and clips needs to be changed to become more fluid. The blending between the music and dialogue with the clips needs to be addressed as well as establishing the plot through flashcards as well as dialogue.
The acting isn’t something we can change in the editing as its all down to our actors. To improve we could source actors from people on a drama course or audition people.
Final Draft
After responding to our feedback we had our final trailer. Enjoy!
